|
|
|
Calculations indicate that if the aileron, elevator and rudder trailing 5/16 inch OD tubes are faired in, about one hp can be saved at 60 mph.
Quick set epoxy was spread on the trailing edges and the fairings were aligned and pressed into place. |
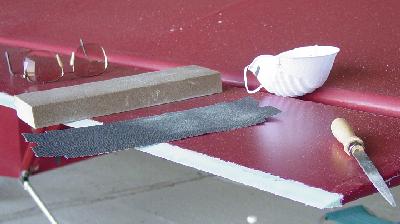 A sheet rock wall sanding block was used to shape the ends and upper and lower surfaces to conform to the original surfaces. Where the epoxy came to the surface of the fabric, a small file was used to remove the excess material. One had to exercise some care to keep from getting into the fabric. The trick was to sand or file toward the tube to prevent tearing the foam. Once the surface was well matched with the tube the angle of the sanding block could be lowered to smooth the cut foam surface to the trailing edge. But, always sanding from the trailing edge toward the tube.
The face mask is a necessity to prevent inhaling the sanding dust. |
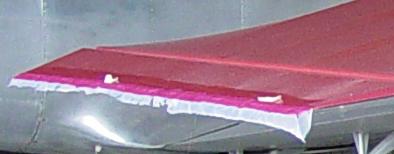 The upper surfaces of the ailerons were prepared first. Latex paint was applied to the foam surface and a pinked strip of organza was patted into the paint. Then additional latex was brushed onto the cloth until it was saturated from the pinked edge to the foam trailing edge. The pinked edge over laps the original fabric by about one inch.
|
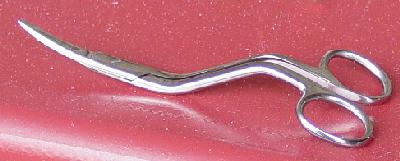 After the paint had dried, a straight edge and a fine line black pen was used mark the new true edge. The curved scissors on the left were used to cut the excess material away.
|
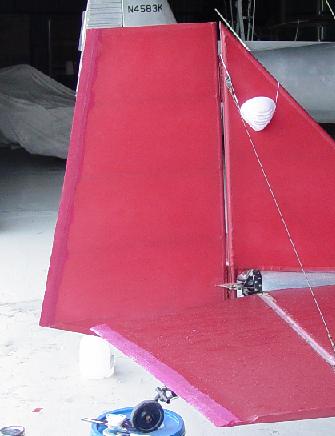 Raising the tail wheel made it much easier to shape the foam and place fabric on the elevators. One could sit on the step stool to work on the upper surfaces and sit on the floor to work on the lower surfaces.
Luckily, I ran out of organza, and when I went to the fabric shop to get a new supply, I found a softer version that was red. It was much easier to use. The organza was ripped in strips about four inches wide. The one edge was pinked and the ends were cut off and discarded. The big problem was getting a straight pinked edge like a tape. About the time I was done, I discovered that if one laid the strip over an edge and pulled it toward him as he cut the edge, one could observe the lower scissors blade through the cloth. If you put the point of the lower blade at the same distance from the edge every time, you will get a reasonably straight edge. |
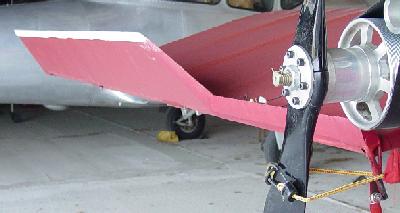 Working on the bottom side of the elevators was difficult, but the ailerons were a little easier. A bungee cord around the aileron control horn and the propeller did the trick.
The foam was shaped on the bottom surface to conform to the tube, and because the trailing edge had been cut to true it, the whole surface had to be sanded to thin the trailing edge. After the cloth was painted on and the paint had set, the trailing edge fabric was trimmed to the original cut line. If I was going to do this over again, I would make a fixture to hold the organza strips for pinking. I believe I could have cut a straighter and better looking line with the shears. |
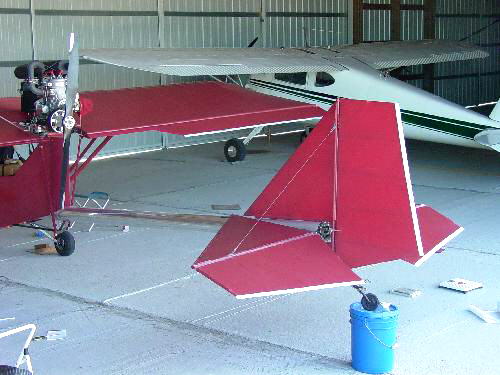 The FireFly was reversed in the hangar bay so that all the surfaces that were to be modified could be exposed to the afternoon light. The tail wheel was placed on top of a five gallon can so that it would be easier to work on the elevators.